Making a Chickham
Although I'm sure somebody's probably made one before, I can't find any record of it online or in any of my cookbooks. So until I hear otherwise, I am christening you, oh deboned chicken stuffed with a ham that is then baked together in the oven, a Chickham. Plus, once you can make a Chickham, you can easily adapt the procedure to make the largest chicken cordon bleu ever! Oh, the endless possiblities...
Now without further adieu, here are the instructions for making your very own Chickham.
Before: Select a chicken (I used a ~4-5 lb fryer). Can be frozen, just dethaw before proceeding. Here's the chicken (breast side up) ready to be deboned:

Step 1: Turn the chicken upside down so the breast-side is facing the cutting board. Using a boning (or other small) knife, pierce the skin and cut as close to the bone as possible, keeping the blade facing the bone at all times. The goal of deboning the bird in this manner is to have one continuous piece of chicken with all skin still intact. Here is the bird cut on one side.

Step 2: Cut along the other side of the spine. When you get close to joining your cuts, the skin will be very thin (right under the midline between the two breasts). It is important not to pierce the skin -- keeping your knife facing the bone will minimize the chance of accidentally piercing. Once you cut all the way around the rib cage, you can pull it out. Here is just after the rib cage has been removed. Bird is still laying breast side down. Rib cage is on the right between the meat and knife.

Another view of the same step showing the bird, breast-side up.

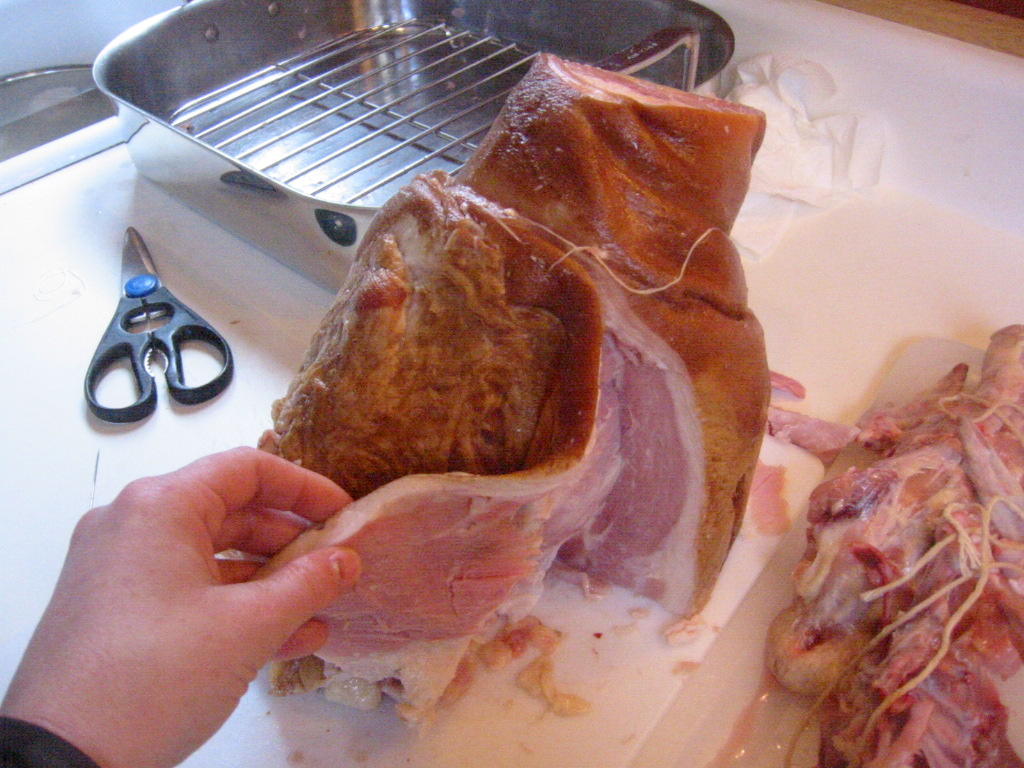
Step 3: Now it's time for stuffing. Since I was cooking a ham anyway, I cut off a big chunk (see foreground). You can see the deboned chicken on the right.

Step 4: Place ham in the center of the chicken. Do your best to arrange it in a way that fits.

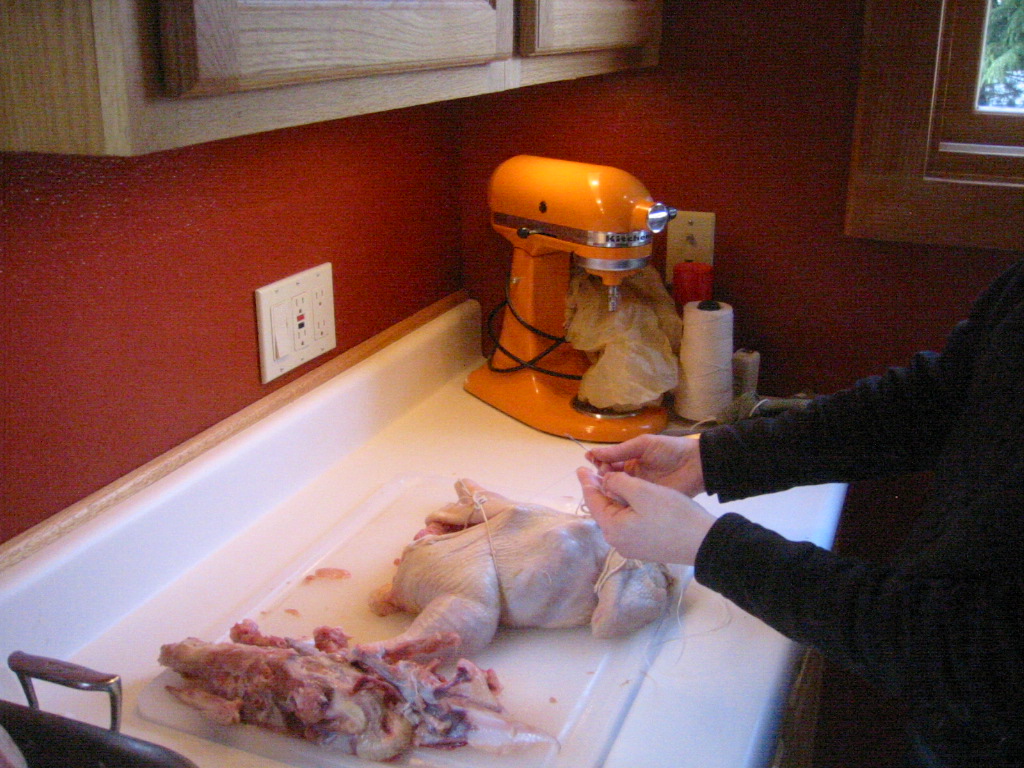
Step 5: Since a giant piece of ham doesn't normally fit inside a chicken, I held everything together with kitchen twine until it could be sewed together with a big needle and dental floss.

Step 6: With patience and tough fingers, use the threaded needle to sew up your Chickham.
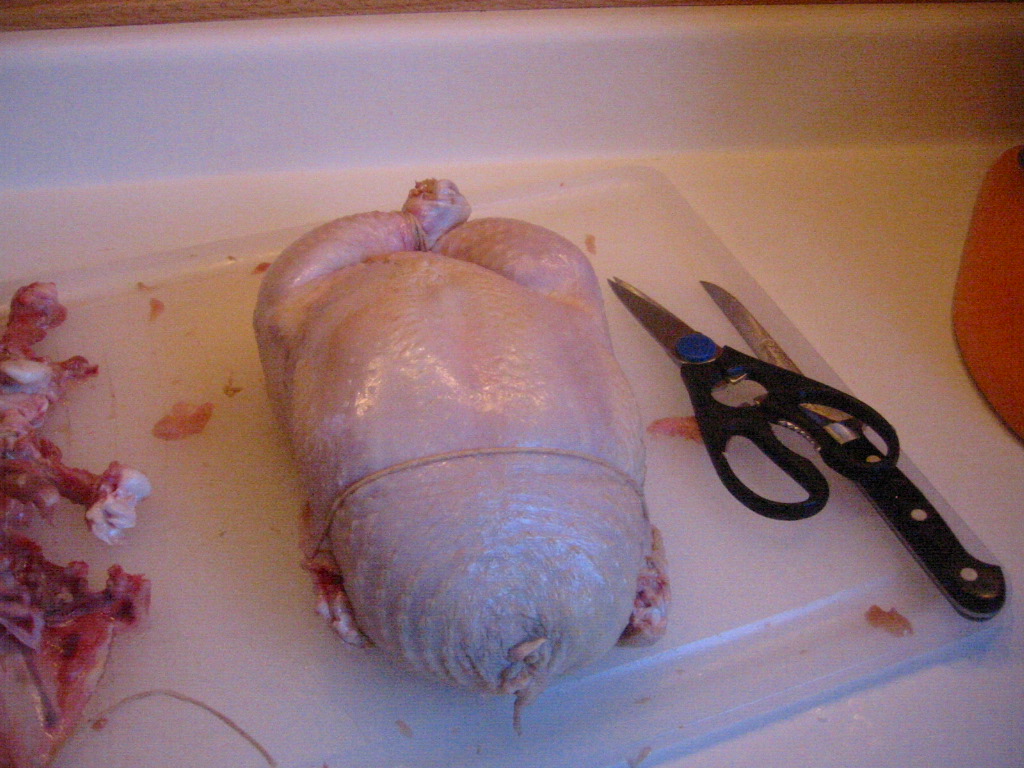
All sewn up. It actually looks like it has bones, doesn't it?

Step 7: Cook the bird in a 300 degree oven until the chicken registers 165 degrees. Let it rest before slicing.
(Optional: If desired, you can also sew up the gaping whole in the side of the ham before baking. Here's the before:)
And the after:

Step 8: Slice that sucker up. Easiest carving job ever since there are no bones.


Step 9: Right before it goes onto the serving platter. Enjoy!

posted by Lisa @ 6:24 PM
![]()
![]()
0 Comments:
Post a Comment
<< Home